Quick answer
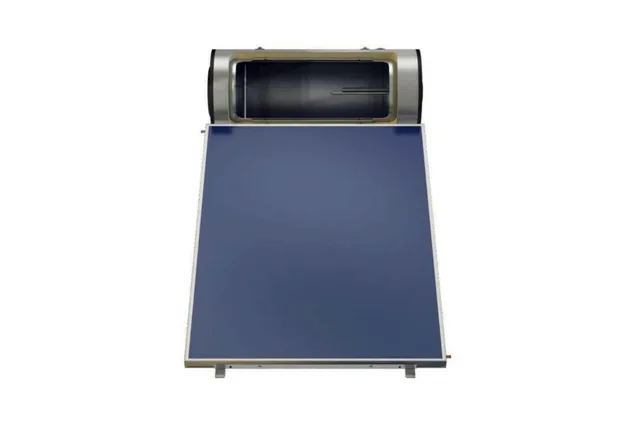
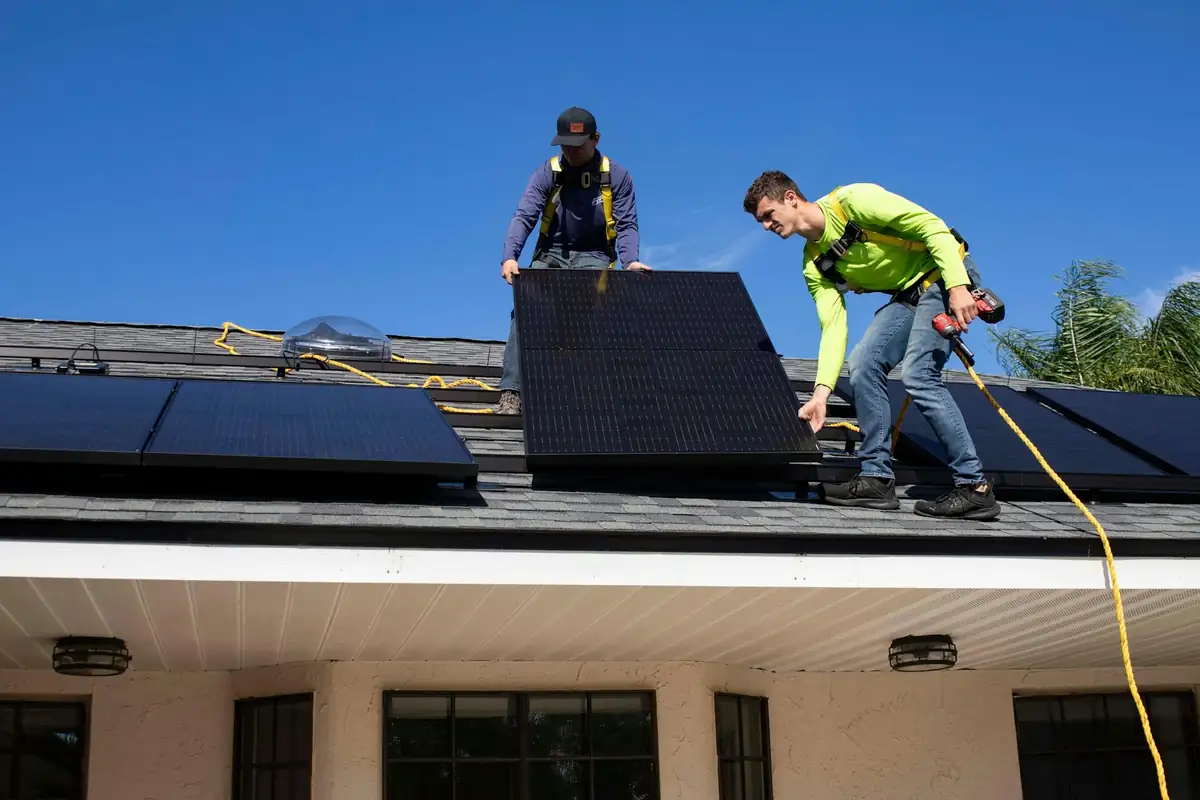
Installation starts with a survey of the roof, sunlight, water supply and plumbing. The frame is fixed securely facing the sun at a suitable tilt, the tank and collector are mounted, then cold supply, hot outlet, valves and the backup element are connected and the system is filled, checked for leaks and commissioned.
Real products, live prices, in stock now
See the actual productsLive prices from the Qyvea store
Shop all inverter products →Key takeaways
- Unshaded roof with good sun through the day.
- Strong mounting: a full tank is heavy.
- Correct valves for safety.
- Short hot-water pipe runs reduce heat loss.
- Qualified plumbing and electrical connections.
01Steps
- 01SurveyRoof strength, orientation, shading, water supply and pressure.
- 02MountFrame fixed to the roof structure at the right tilt.
- 03PlumbCold in, hot out, valves and insulation on pipes.
- 04ElectricalBackup element and controller on a proper circuit.
- 05CommissionFill, purge air, check leaks and temperature.
When to call a professionalQyvea supplies and installs solar water heaters across Kenya. Call 0113 301 244 or WhatsApp us.
02Frequently asked questions
How long does installation take?
A typical home system is installed in a day.
Can my roof hold a solar water heater?
Most can, but a full tank is heavy, so we check the structure at the survey.