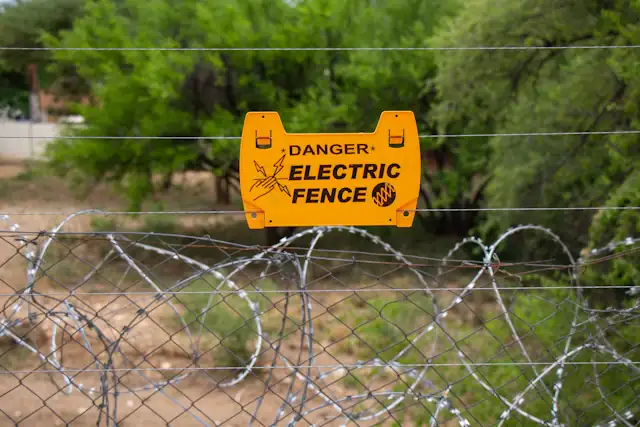

A professional electric fence installation has seven stages: survey the perimeter and plan zones; fix brackets or posts on the wall; run the strands through insulators and tension them; install the energizer and backup battery; build the earth system; fit warning signs, gate contacts and the alarm; and test voltage on every zone. The earth and the tension decide most of how well it works.
Key takeaways
- Plan zones so faults are easy to find.
- Insulators and tension prevent leakage.
- Earthing is half the circuit.
- Warning signs are required for safety.
- Test voltage on every strand and zone.
01Installation stages
- 01SurveyMeasure the wall, count corners and gates, decide strands and zones.
- 02BracketsWall-top brackets or posts at even spacing; strainers at corners.
- 03Wires and insulatorsHigh-tensile wire through insulators, tensioned evenly.
- 04EnergizerMounted indoors or in a weatherproof box, with backup battery.
- 05EarthingEarth spikes in damp ground, connected with proper cable.
- 06Signs, gates, alarmWarning signs at intervals, gate contacts, siren and alarm outputs.
- 07TestingMeasure voltage on each zone, check alarms trigger.
02Why it's not a DIY job
Read electric fence earthing and choosing an energizer.
03Cost and next steps
Cost depends on length, number of strands, energizer and alarm. See electric fence installation cost.
04Frequently asked questions
How long does electric fence installation take?
A typical home wall takes one to two days, depending on length and corners.
How many strands do I need?
Commonly 4 to 8 on a wall top; more strands are harder to get through.
Does an electric fence need an earth?
Yes. Without a good earth, the shock is weak and alarms misbehave.